|
 |
 |
|
|
|
|
Forget men, I want to marry my MacBook. It’s dependable, reliable and you can even go shopping with it, Alexandra Potter
macOS is one of the most powerful, robust, secure, intuitive, and stable operating systems in the world. The setup assistant will launch once you turn the computer on and is pretty straight forward.
You will be asked to:
 In general terms, these are the steps to set up your macOS:
Show path and status bars in Finder. Open Finder, select View, Show Path Bar and View, Show StatusBar.
ruby -e "$(curl -fsSL https://raw.githubusercontent.com/Homebrew/install/master/install)"

vim ~/.zshrc:
# Add Homebrew's executable directory to the front of the PATH
export PATH=/usr/local/bin:$PATH
  brew tap homebrew/cask-fonts # It's required to install Source Code Pro Font. brew tap adds more repositories to the list of formulate that Homebrew tracks, updates, and install from.
  brew install --cask \
barrier \
vlc \
dropbox \ # Dropbox is a file hosting service.
syncthing \ # Syncthing is a continuous file synchronization program.
google-chrome \ brave-browser \
google-backup-and-sync \ # Download and sync with Google Drive.
gimp \ # Gimp is a free and open source image manipulation program.
virtualbox \ # The world's most popular open source, cross-platform, virtualization software.
visual-studio-code \ # A source-code editor made by Microsoft.
cheatsheet \ # Just hold the Command ⌘ Key for a few seconds to get a list of all shortcuts of the current application.
neovim \ # Neovim is a Vim-based text editor engineered for extensibility and usability, to encourage new applications and contributions.
font-source-code-pro \ # Install Source Code Pro Font
docker \ # Install Docker, then test it: docker run hello-world
rocket \ # You can type emoticons easily everywhere, e.g., :wav 〰️, :smiley 😄, etc. It is faster than using the macOS's Emoji keyboard shortcut (Command + Control + Space).
rectangle \ # Moves and resizes windows in macOS using keyboard shortcuts or snap areas (cmd + option + left/right). full screen: cmd + shift + '

brew install git \ # Git is a free and open source distributed version control system.
exa \ # A modern replacement for ls.
bat \ # A cat clone with wings.
fzf \ # fzf is a general-purpose command-line fuzzy finder.
tldr # Too long, didn't read, a replacement for man pages. Maybe, you could install: cowsay, ponysay, fortune, lolcat, top, and neofetch, too.

# Configure git
git config --global user.name "Your Name Here"
git config --global user.email "your_email@youremail.com"
git config --global credential.helper osxkeychain
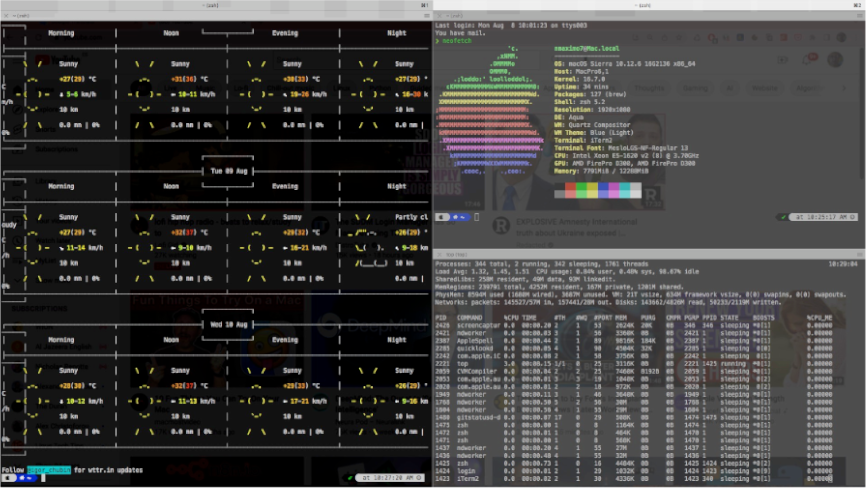
brew install ‐‐cask iterm2
brew install zsh
brew install zsh-completions
sh -c “$(curl -fsSL https://raw.github.com/robbyrussell/oh-my-zsh/master/tools/install.sh)"
git clone https://github.com/romkatv/powerlevel10k.git $ZSH_CUSTOM/themes/powerlevel10k
p10k configure # If you are using iTerm2, p10 configure can install the Meslo Nerd Font for you.
git clone https://github.com/zsh-users/zsh-syntax-highlighting.git ${ZSH_CUSTOM:-~/.oh-my-zsh/custom}/plugins/zsh-syntax-highlighting
git clone https://github.com/zsh-users/zsh-autosuggestions $ZSH_CUSTOM/plugins/zsh-autosuggestions
    ZSH_THEME="powerlevel10k/powerlevel10k"
    [...]
    plugins=(git zsh-syntax-highlighting zsh-autosuggestions colored-man-pages colorize pip python brew)
    [...]
    # To customize prompt, run `p10k configure` or edit ~/.p10k.zsh.
    [[ ! -f ~/.p10k.zsh ]] || source ~/.p10k.zsh
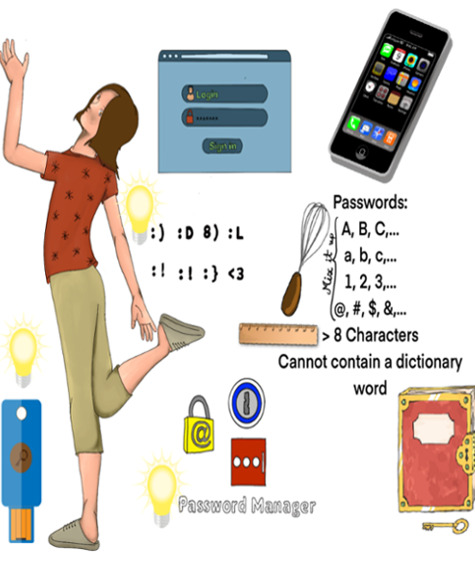
brew install --cask keepassxc
  user@pc:~$ user@pc:~$ defaults write com.apple.finder AppleShowAllFiles -bool true # It shows hidden files and folders.
  defaults write com.apple.screencapture location ~/Dropbox # It changes the default location for screenshots.
  defaults write com.apple.screencapture type JPG # It changes the default file type of screenshots.
  defaults write com.apple.screencapture disable-shadow -bool true # It disables shadows for all window screenshots captured on your macOS.
  defaults write com.apple.finder ShowPathbar -bool true # It shows the path bar.
  defaults write com.apple.finder ShowStatusBar -bool true # It shows the status bar.
  chflags nohidden ~/Library # It shows the Library folder.
  defaults write com.apple.dock static-only -bool true # It makes the dock only show apps that are currently running, so you can get rid of most apps that come bundle with your macOS out of the box.
  killall SystemUIServer
System Preferences, Apple ID. Configure iCloud and turn on the Find my Mac feature. Disable automatic login and set a system password. Navigate through System Preferences, Security & Privacy, General tab, and click on Allow apps downloaded from: App Store and identified developers. Besides, enable Show a message when the screen is locked: myWebsite | my eMail | myPhone.
FireVault is macOS build-in disk encryption feature. It encrypts and decrypts files associated with your profile on the fly using a password that you set. Navigate through System Preferences, Security & Privacy, choose the FileVault tab. Click the lock at the left bottom, enter your password, and tap on Turn on FileVault… to enable this feature.
Choose Allow my iCloud account to unlock my disk (it is a convenient way to protect your local files on your mac) or Create a recovery key and do not use my iCloud account (if there is very sensitive information on your Mac, this is your safest bet). Finally, save the recovery key in a secure location (e.g., KeePassXC).
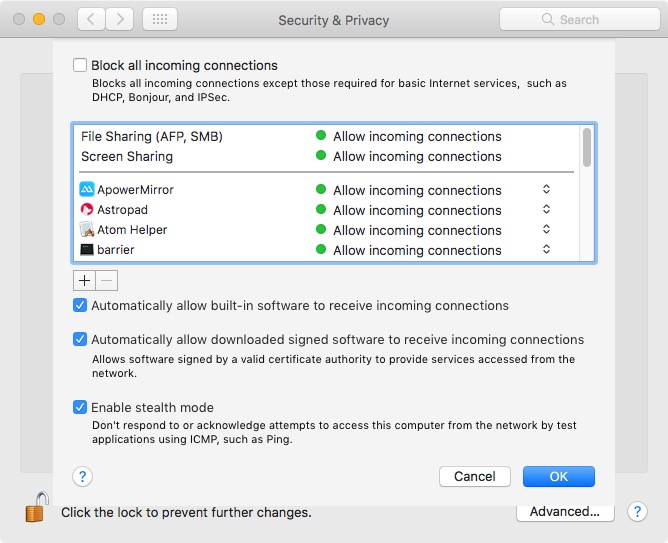
Turn on the Firewall. Go to System Preferences, Security & Privacy, Firewall, and smash the Turn On Firewall button.
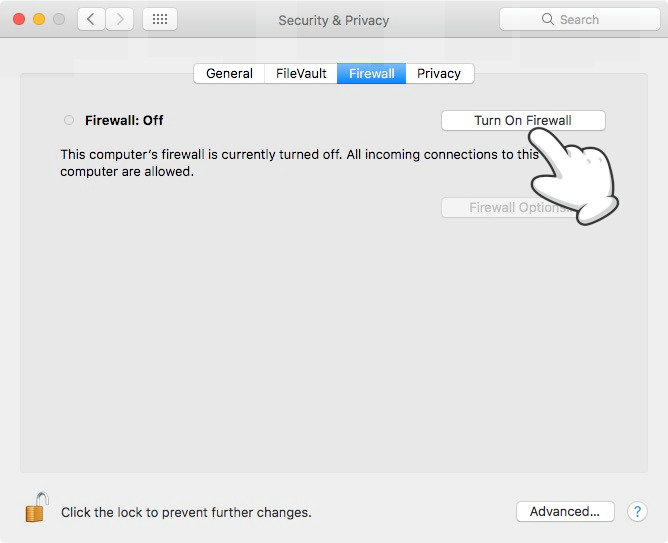 Then, click Firewall Options to fine-tune the firewall settings, Enable Automatically allow built-in/downloaded signed software to receive incoming connections (it adds stock apps -iTunes, Mail, Messages- and downloaded apps that are signed by a valid certificate authority to the list of allowed apps) and stealth mode (it prevents your macOS from responding to probing requests or queries to reveal its existence from the network).
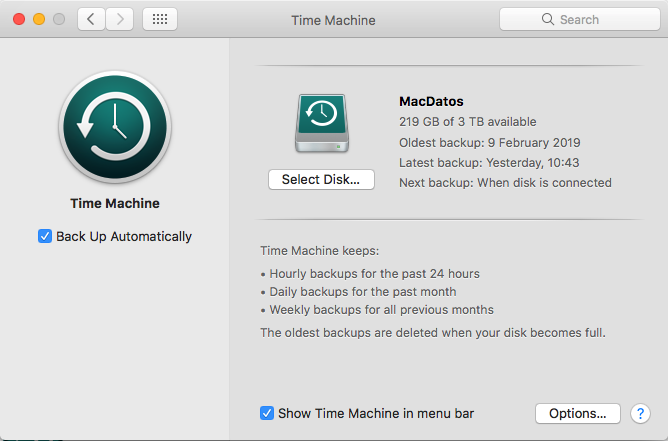
Back up your computer with Time Machine. System Preferences, Time Machine. Select Back up Automatically on the left pane. Click Select Disk… and chose the disk you want to use to store your backups.

JustToThePoint Copyright © 2011 - 2024 Anawim. ALL RIGHTS RESERVED. Bilingual e-books, articles, and videos to help your child and your entire family succeed, develop a healthy lifestyle, and have a lot of fun. Social Issues, Join us.
This website uses cookies to improve your navigation experience.
By continuing, you are consenting to our use of cookies, in accordance with our Cookies Policy and Website Terms and Conditions of use.